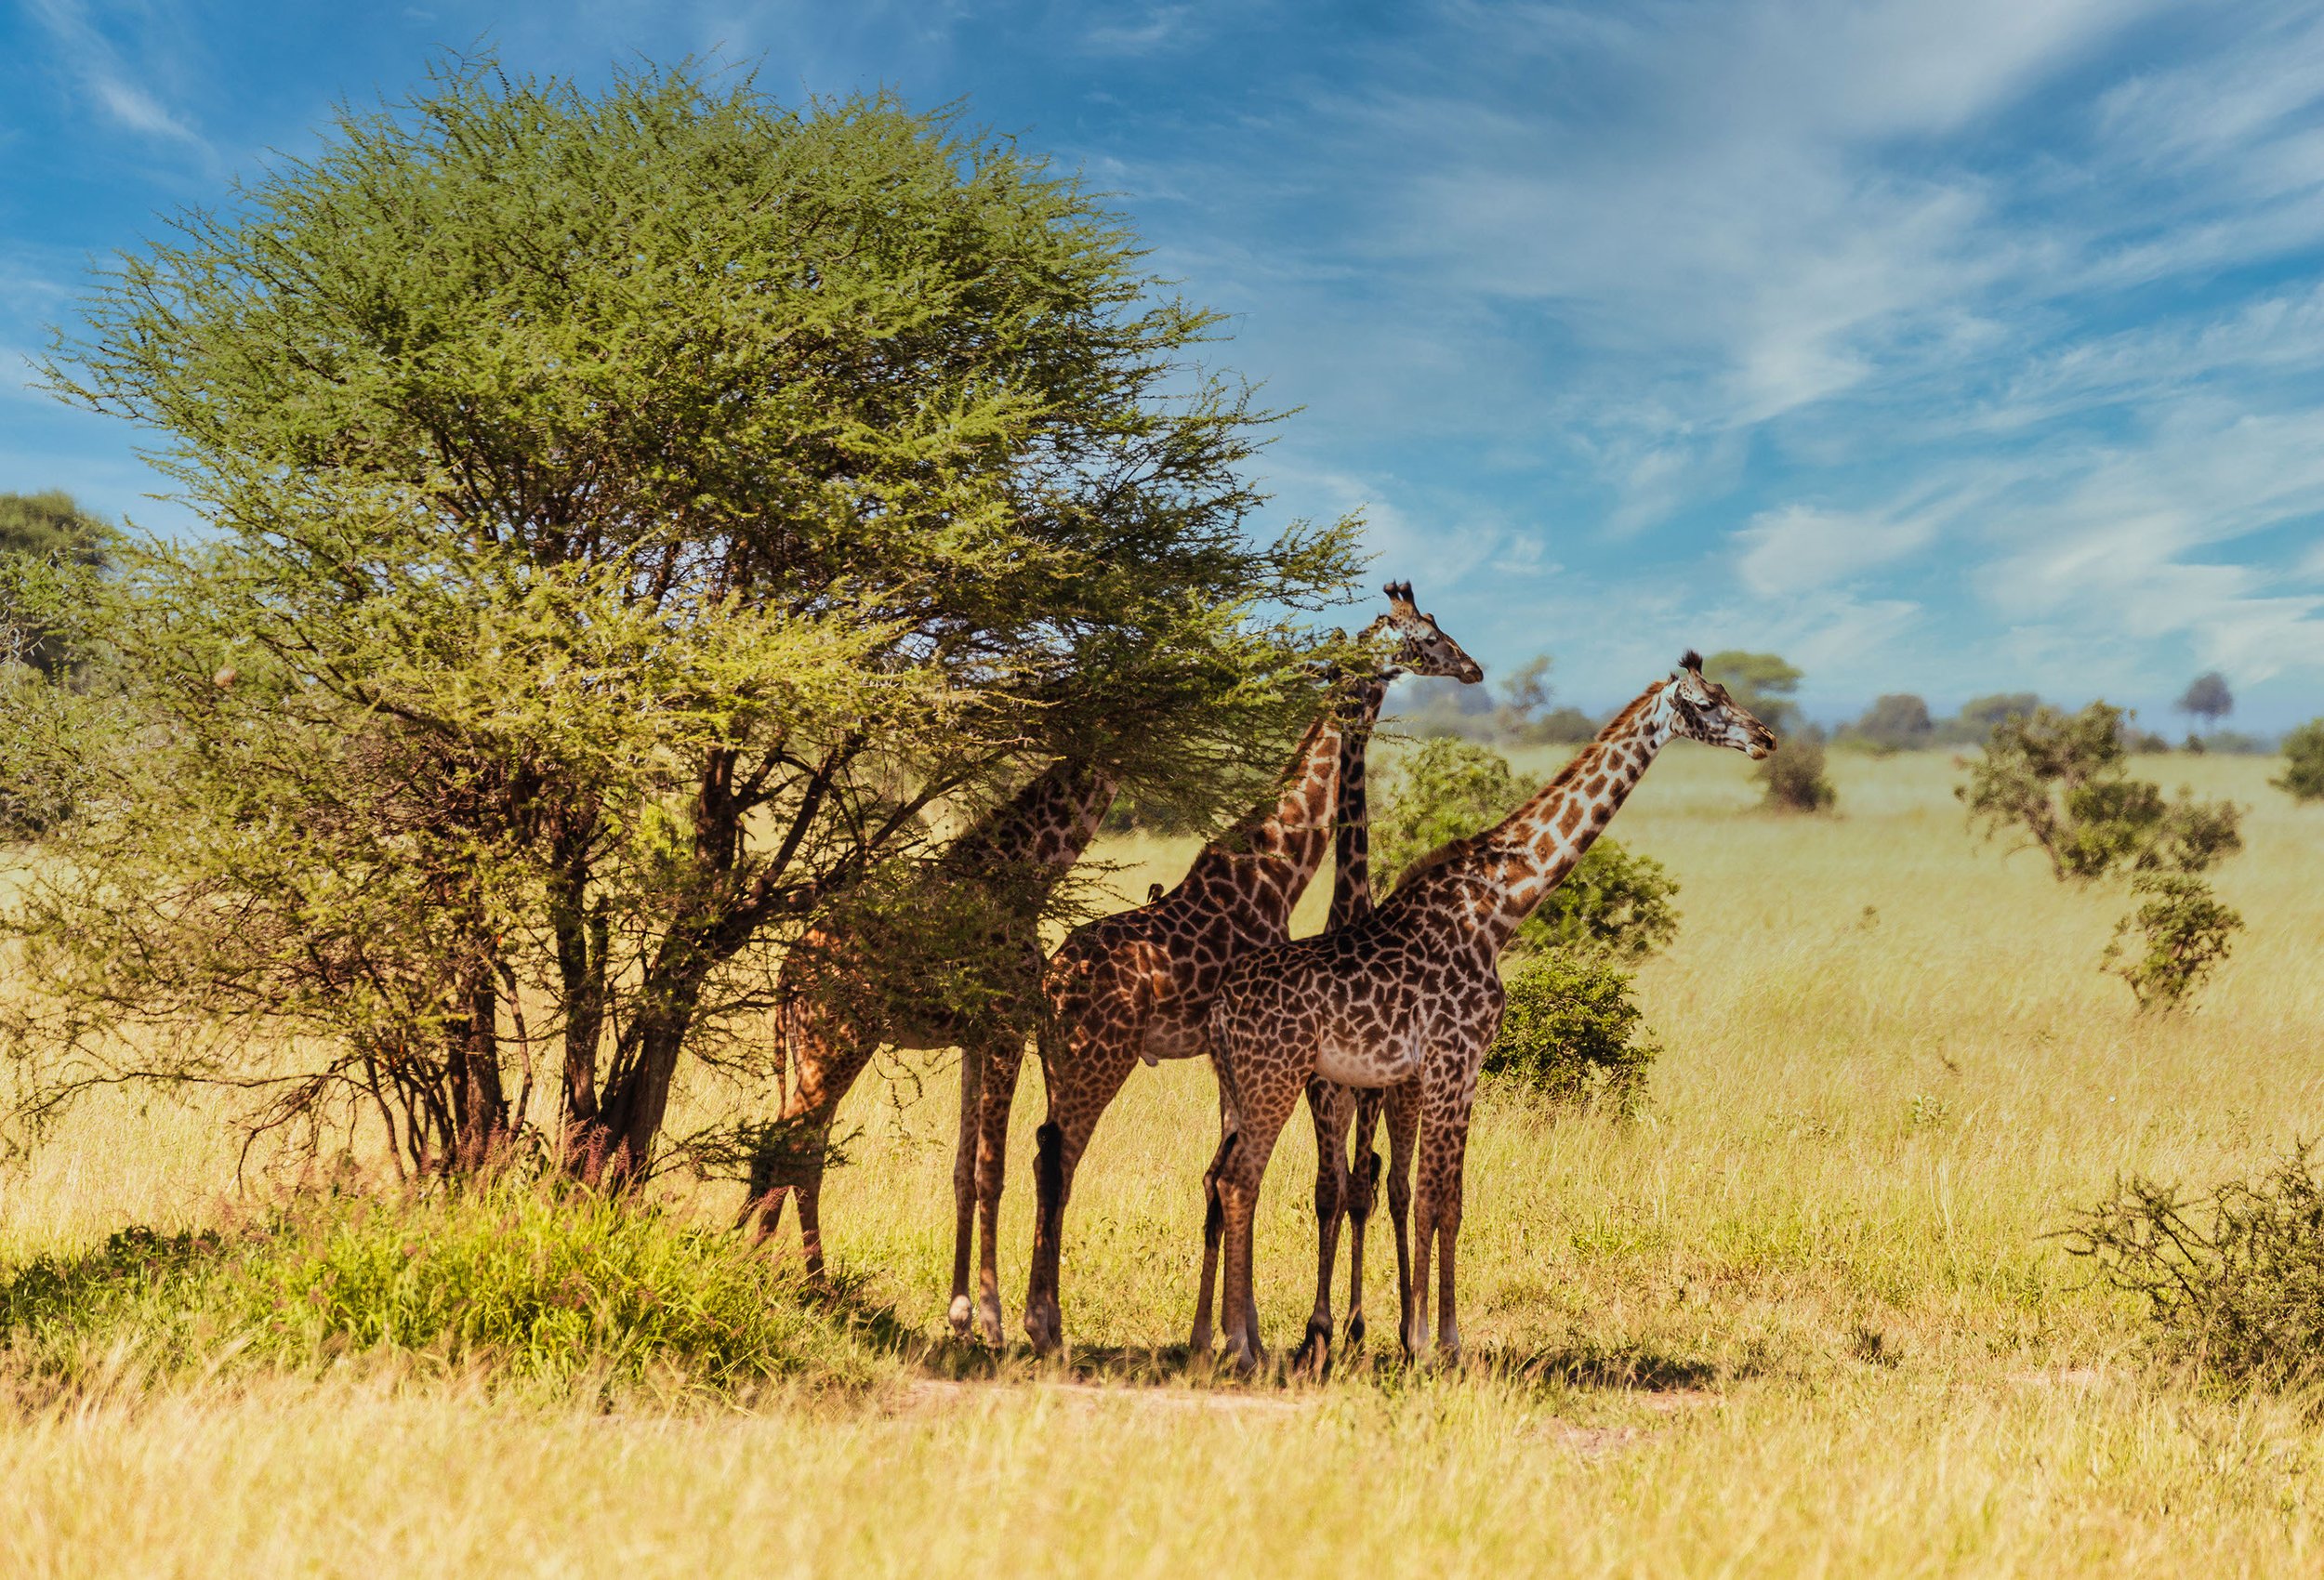
Imagine capturing the boundless savannas of the Serengeti, where the golden hues of the grass seem almost endless. Every year, photographers from around the globe are drawn to Tanzania’s breathtaking landscapes, striving to freeze moments of its untouched beauty. However, achieving that perfect shot requires more than just a camera; it demands a keen understanding of the environment and the optimal techniques.
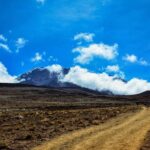
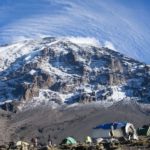
The key to capturing Tanzania’s landscapes lies in understanding the light. Early morning and late afternoon provide the best opportunities as the soft, angled sunlight enhances the textures and colors of the scenery. Moreover, incorporating a sense of scale by including elements like the majestic Mount Kilimanjaro or a migrating herd can transform an ordinary photo into a stunning work of art. With careful planning, patience, and a keen eye, your photography can truly capture the spirit of Tanzania’s wilderness.
Essential Gear for Capturing Tanzania’s Stunning Scenery
Shooting Tanzania’s awe-inspiring views requires the right camera. A good DSLR or mirrorless camera is ideal for its versatile settings and high image quality. Lenses are equally important; a wide-angle lens captures expansive landscapes, while a telephoto lens brings distant subjects closer. Don’t forget extra memory cards and batteries. You’ll be shooting a lot, and you wouldn’t want to miss a shot due to lack of storage or power.
Tripods are a photographer’s best friend, especially in low light conditions. They’re crucial for long exposure shots, ensuring crisp, clear images. A sturdy but lightweight tripod is perfect for traveling, helping you capture stunning sunrise and sunset photos without blur. Make sure it’s easy to pack and carry. Stability can make or break your shot in Tanzania’s wild terrains.
Filters can drastically improve your landscape photos. Polarizing filters reduce glare from water and enhance the sky’s blues. Neutral density filters are perfect for long exposures, slowing down the shutter speed to create a dreamy effect with moving water or clouds. They are essential tools for balancing the bright African sun and shadows. Carry a small pouch to keep them protected and handy.
Drone photography is also gaining popularity for capturing Tanzania’s landscapes from a unique perspective. Many drones come equipped with high-quality cameras that can capture incredible aerial shots of the Serengeti or Mount Kilimanjaro. Ensure you have permission and follow the local regulations when using a drone. A drone can elevate your photography game, offering angles and views that are impossible to achieve from the ground.
Choosing the Right Camera and Lenses
Picking the perfect camera is the first step to capturing Tanzania’s stunning scenery. A DSLR or mirrorless camera with interchangeable lenses offers the flexibility needed for different shots. Look for models with good low-light performance for those early morning or late evening shots. Weather sealing is a plus, protecting your gear from dust and moisture. High-resolution sensors also help capture fine details.
The choice of lenses can make a huge difference in your photos. A wide-angle lens, typically between 16mm and 35mm, is excellent for capturing vast landscapes. For close-up shots of wildlife or distant mountains, a telephoto lens ranging from 70mm to 200mm is ideal. These lenses help you bring out the best in both sweeping vistas and detailed subjects. Carrying a prime lens for night photography can also be a good idea.
Don’t forget about lens accessories. Protect your lenses with UV filters, which also help reduce haze. Consider carrying a lens cleaning kit to keep your glass clear and smudge-free. Using a lens hood can reduce flare and improve the contrast in your photos. These small accessories can significantly impact the quality of your images. Always keep them handy in your camera bag.
For those looking into advanced options, consider investing in specialty lenses. Tilt-shift lenses can correct perspective distortions, useful for architectural shots. Macro lenses allow you to capture the intricate details of small subjects. Specialty lenses can add a creative edge to your photography, giving you more options to play with. Each type of lens opens new possibilities for capturing Tanzania’s diverse landscapes.
Optimal Times for Photography in Tanzanian Natural Settings
The timing of your shots in Tanzania can make a huge difference in the outcome. Early morning, just after sunrise, offers soft lighting and cooler temperatures which enhance the colors and details of the landscape. The “golden hour,” occurring just after sunrise and before sunset, is especially magical. During this period, the sunlight is warm and casts long shadows. These conditions add depth and texture to your photos.
Midday sunlight can be harsh and create strong shadows, but it’s not without its uses. Clear skies and bright light can capture the vivid blues and greens of Tanzania’s landscapes. During the dry season, from June to October, the skies are typically clearer. This is perfect for capturing dramatic contrasts. Use a polarizing filter to reduce glare and bring out the sky’s blues.
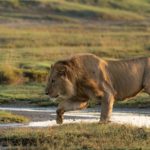
Late afternoon and just before sunset, the light becomes softer and more golden again. This is also a great time for wildlife photography as animals are more active around dawn and dusk. The softer light highlights their features beautifully. Sunset creates dramatic silhouettes against a colorful sky. Plan your shots around these times for the best results.
Night photography opens up a whole new world of possibilities in Tanzania. Clear, dark skies make it an excellent location for astrophotography. The Milky Way is often visible, providing stunning backdrops for your landscape photos. Use a tripod to keep your camera steady during long exposures. Night shots require patience but can reward you with breathtaking images of the starry sky.
Composition Techniques for Impactful Landscape Photos
Understanding the rule of thirds can transform your landscape photography. By dividing the frame into a 3×3 grid, you place points of interest along the lines or at their intersections. This simple technique makes your photos more balanced and engaging. Imagine framing Mount Kilimanjaro off-center rather than right in the middle. It creates a more dynamic image.
Leading lines draw the viewer’s eye into the photo. Roads, rivers, or even the way shadows fall can guide viewers through the landscape. Use these lines to create depth and dimension. A path leading toward the horizon can add a sense of journey. Experiment with natural and man-made lines for different effects.
Incorporating foreground elements adds depth to your photos. Rocks, plants, or animals in the foreground create multiple layers. This technique makes the scenery feel more immersive. It’s particularly effective in vast open spaces like the Serengeti. Use a smaller aperture to keep both foreground and background in focus.
Framing techniques can enhance the composition. Natural frames such as tree branches or archways draw attention to the focal point. This subtle method adds context and focuses the viewer’s eye. Think of capturing a giraffe through a frame of foliage. It creates a window into the scene.
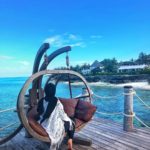
Using reflections can add a unique perspective to your photos. Water bodies like lakes or rivers reflect the sky and surrounding environment. This creates symmetry and adds interest. Reflections can also capture colorful sunrises or sunsets. Experiment with different angles to make the most of reflective surfaces.
Negative space should not be overlooked. It amplifies the subject by contrasting with empty areas. This technique simplifies the composition and highlights the focal points. For instance, a lone tree in a vast plain stands out more. Use negative space to make your subjects more striking.
Key Takeaways
- Shoot during golden hours for the best lighting.
- Use wide-angle and telephoto lenses for versatility.
- Apply the rule of thirds for better composition.
- Incorporate leading lines to guide the viewer’s eye.
- Experiment with foreground elements to add depth.